今日もエアコン取替え工事 倉敷市 茶屋町
![](https://teruteru9495.jp/wp-content/uploads/2019/07/19-06-23-01.jpg)
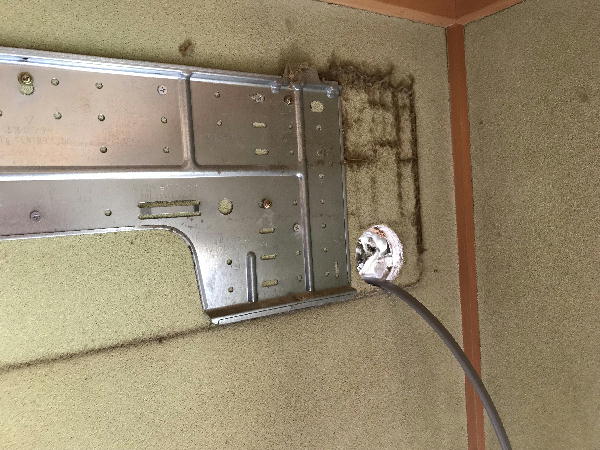
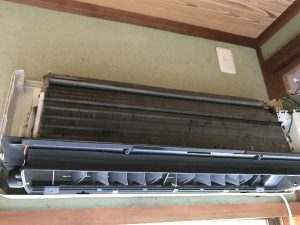
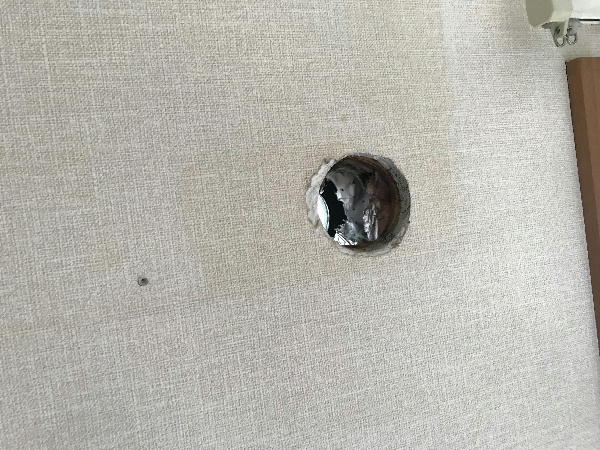
既存のエアコンを外すと、壁の穴に貫通スリーブはありません。
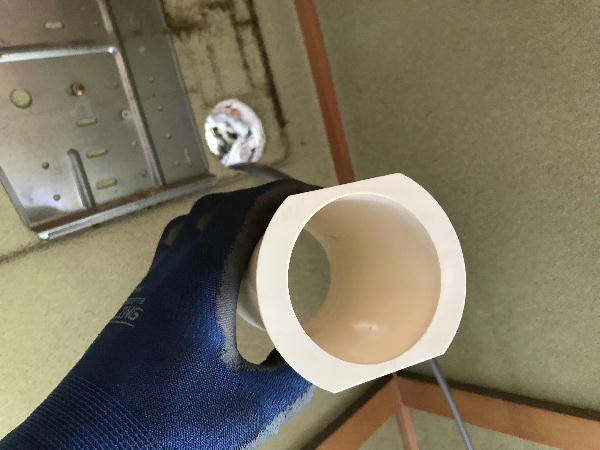
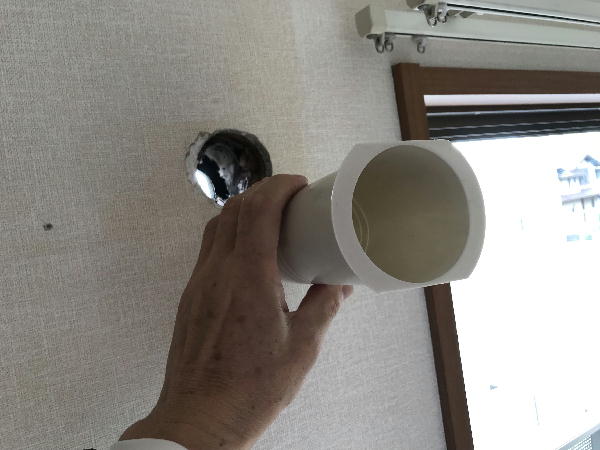
ちゃんとこのような筒を取り付けします。
![](https://teruteru9495.jp/wp-content/uploads/2019/07/19-06-23-02.jpg)
壁のホコリを掃除機で取って、据付金具を固定します。
![](https://teruteru9495.jp/wp-content/uploads/2019/07/19-06-23-03.jpg)
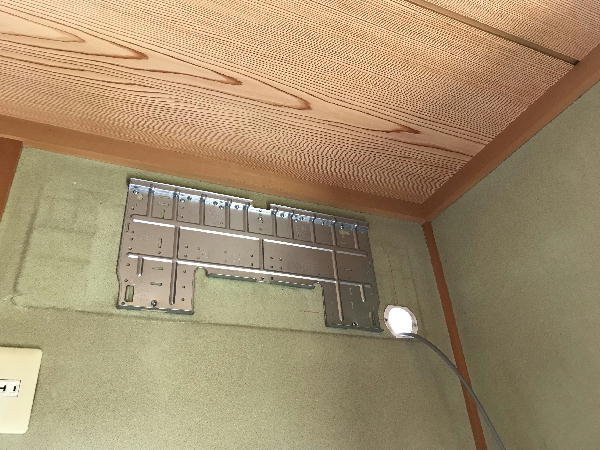
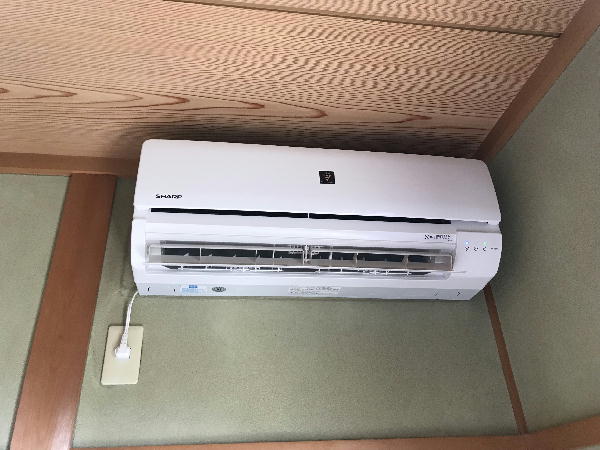
そして室内機を設置、こちらが室外側です。
![](https://teruteru9495.jp/wp-content/uploads/2019/07/19-06-23-04.jpg)
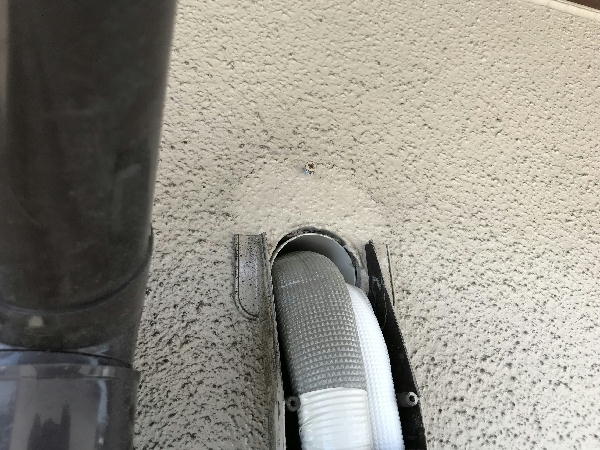
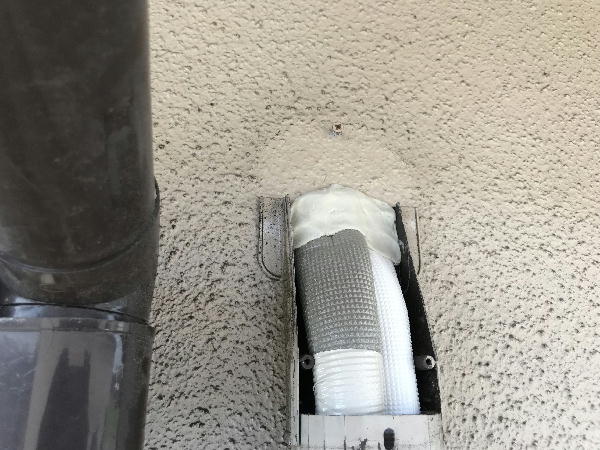
隙間をパテで埋めます。これで壁の内部や屋外から、空気の流入が防げます。
![](https://teruteru9495.jp/wp-content/uploads/2019/07/19-06-23-05.jpg)
最後に試運転。
![](https://teruteru9495.jp/wp-content/uploads/2019/07/19-06-23-09.jpg)
こちらのお客様宅にも貫通スリーブありません。
![](https://teruteru9495.jp/wp-content/uploads/2019/07/19-06-23-07-01.jpg)
同じように取付します。
![](https://teruteru9495.jp/wp-content/uploads/2019/07/19-06-23-08-01.jpg)
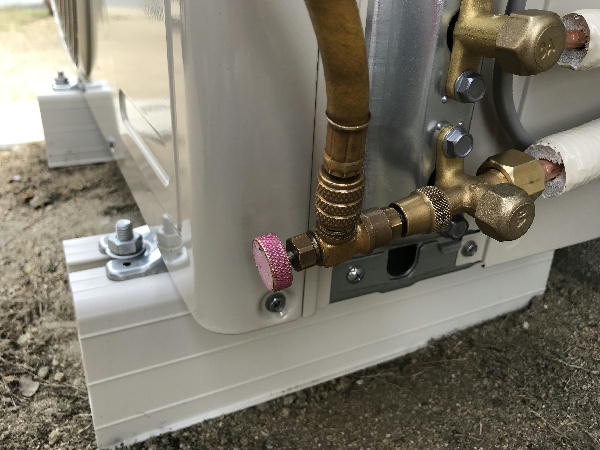
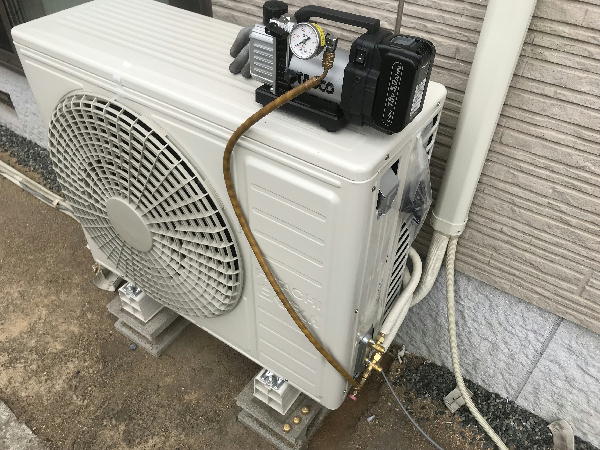
そして室内機とのパイプを接続したら真空引きです。専用のバルブを室外機に取付して配管内の空気を抜きます。
![](https://teruteru9495.jp/wp-content/uploads/2019/07/19-06-23-07.jpg)
![](https://teruteru9495.jp/wp-content/uploads/2019/07/19-06-23-10.jpg)
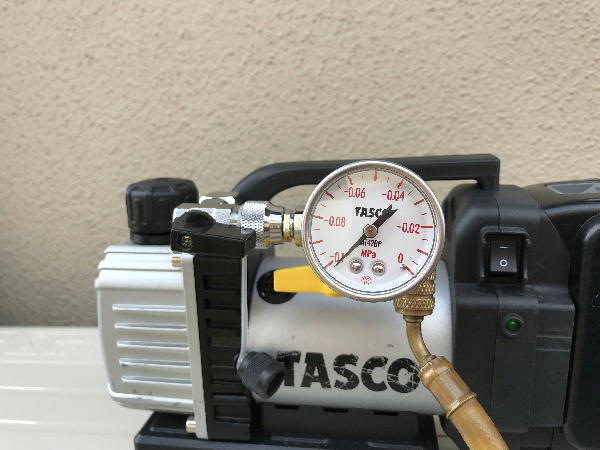
ゲージが-0.1MPa以下になり空気も抜け工事完了です。
![](https://teruteru9495.jp/wp-content/uploads/2019/07/19-06-23-08.jpg)
この時期エアコン工事で多忙ですが、今日は少しだけ余裕があり撮影出来ました。
茶屋町のAさん、Kさんこれで今年の夏は快適ですよ!ありがとうございました。